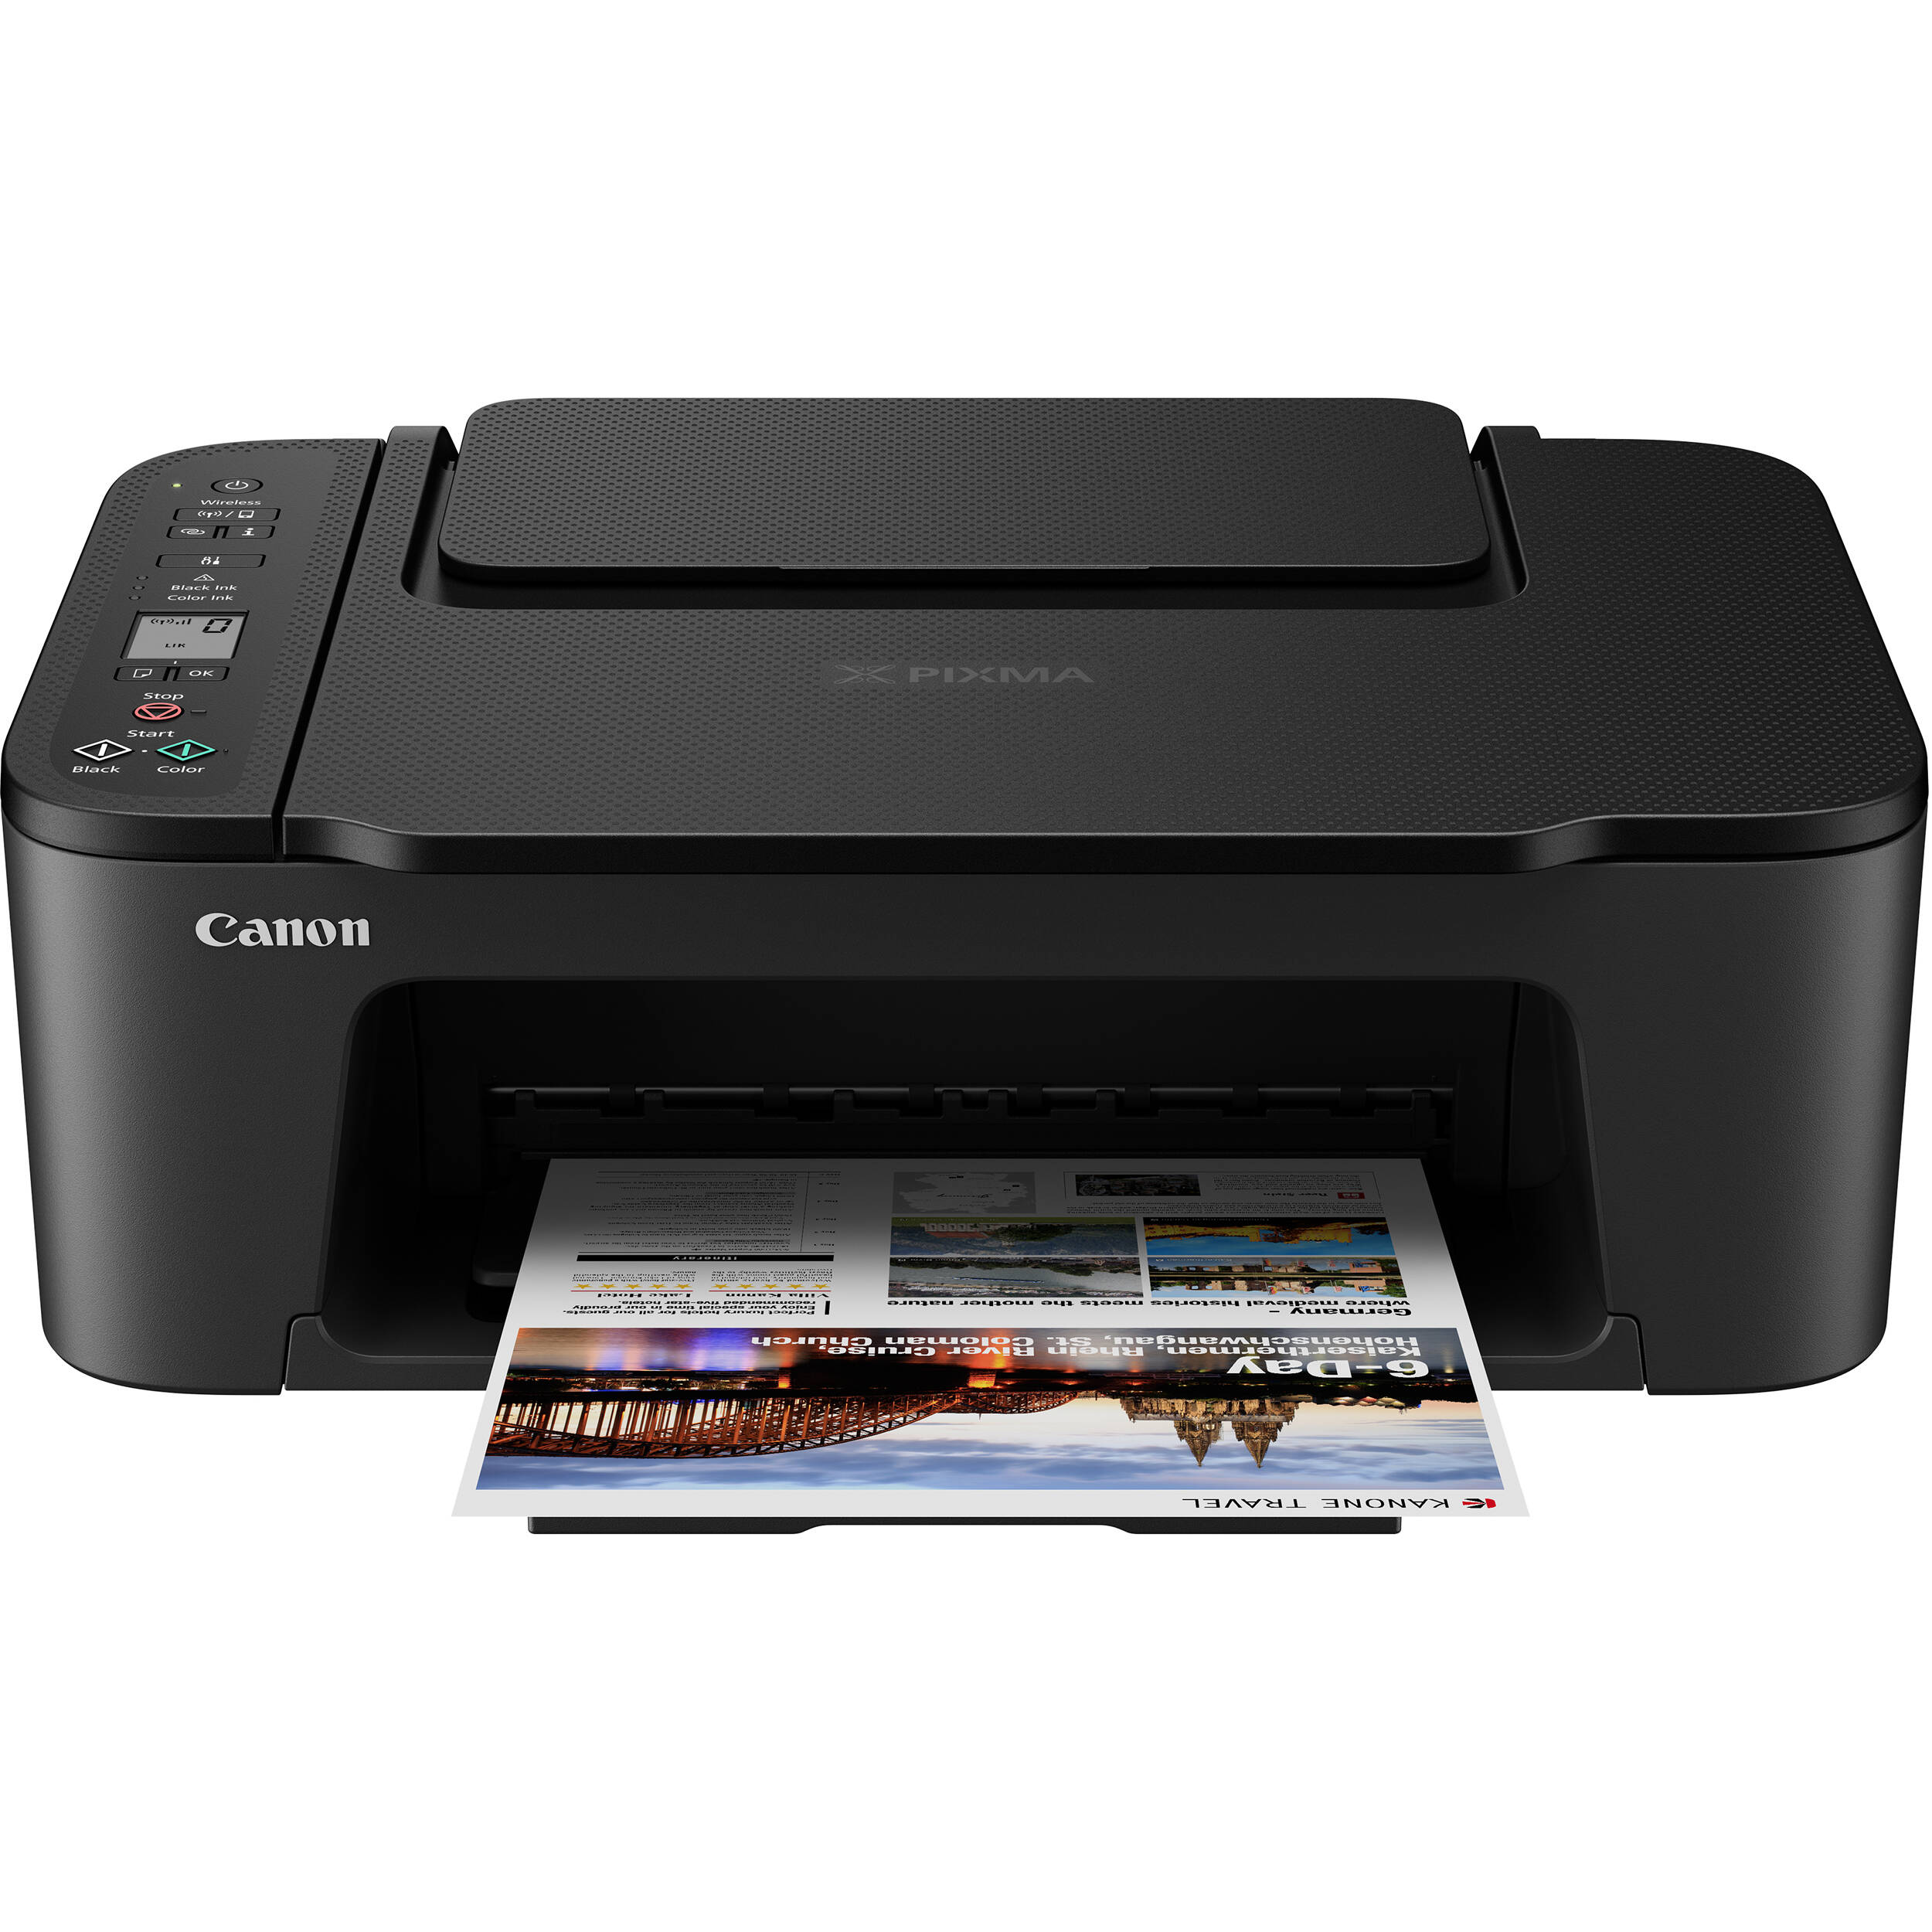
In an age where visual content reigns supreme, the ability to print high-quality color images is essential for both personal and professional endeavors. Whether you’re a photographer looking to showcase your work, a business needing vibrant marketing materials, or simply someone wanting to preserve cherished memories, understanding how to print a picture in color on your printer is crucial. This article delves into the intricacies of color printing, offering practical tips and expert insights to ensure your prints are nothing short of stunning.
Understanding Your Printer’s Capabilities
Before diving into the printing process, it’s vital to understand the specifications and capabilities of your printer. Printers generally fall into two categories: inkjet and laser.
- Inkjet Printers: These are the most common for color printing, utilizing liquid ink cartridges to produce vibrant images. They are ideal for printing photographs and graphics due to their ability to blend colors seamlessly.
- Laser Printers: While traditionally used for text documents, color laser printers have become increasingly adept at producing high-quality images. They use toner instead of ink, which can result in sharper text and faster printing speeds, but may not always match the color depth of inkjet printers.
Preparing Your Image for Printing
- Resolution Matters: Ensure your image has a high resolution, ideally 300 DPI (dots per inch) for photographs. This ensures that your prints are sharp and detailed. Lower resolutions can lead to pixelation and a lack of clarity.
- Color Mode: Check the color mode of your image. For printing, the CMYK (Cyan, Magenta, Yellow, Black) color model is preferred over RGB (Red, Green, Blue), which is used for digital displays. Most graphic design software allows you to convert your image to CMYK before printing.
- File Format: Save your image in a suitable format. TIFF and PNG are excellent choices for high-quality images, while JPEG is more common for everyday use. Be mindful of compression settings, as excessive compression can degrade image quality.
Printer Settings: The Key to Quality
Once your image is prepared, it’s time to adjust your printer settings for optimal results:
- Select the Right Paper: The type of paper you use can significantly affect the final output. For photographs, glossy or satin photo paper is recommended, while matte paper can be suitable for art prints. Always check the printer’s specifications for compatible paper types.
- Print Quality Settings: Access your printer settings through your computer. Choose the highest quality print option available. This may be labeled as “Best,” “High Quality,” or similar terms. Keep in mind that higher quality settings will consume more ink and take longer to print.
- Color Management: Utilize your printer’s color management settings. Some printers come with profiles that optimize color output based on the type of paper used. You can also adjust brightness, contrast, and saturation to achieve the desired look.
Conducting a Test Print
Before committing to a full-size print, it’s wise to conduct a test print. This allows you to evaluate color accuracy and make necessary adjustments without wasting resources. Print a smaller version of your image and assess it under different lighting conditions to ensure it meets your expectations.
Troubleshooting Common Issues
Even with careful preparation, issues can arise during the printing process. Here are some common problems and their solutions:
- Color Mismatch: If the printed colors do not match what you see on your screen, check your monitor’s color calibration. Additionally, ensure that you are using the correct color profile in your printing software.
- Banding or Stripes: This can occur due to clogged print heads or low ink levels. Run a print head cleaning cycle through your printer’s maintenance settings and check ink levels before printing again.
- Faded Prints: If your prints appear washed out, consider using a different paper type or adjusting the print quality settings. Ensure your ink cartridges are not nearing depletion, as low ink can affect color vibrancy.
Conclusion
Printing a picture in color on your printer can be a straightforward process when approached with the right knowledge and tools. By understanding your printer’s capabilities, preparing your images correctly, adjusting settings, and troubleshooting potential issues, you can achieve professional-quality prints that capture the essence of your visual content. Whether for personal keepsakes or professional presentations, mastering the art of color printing will undoubtedly enhance your creative projects and elevate your printing experience.

